How To Get Smooth Lines In Calligraphy Flourishing
- Flourishing
- 0 comments
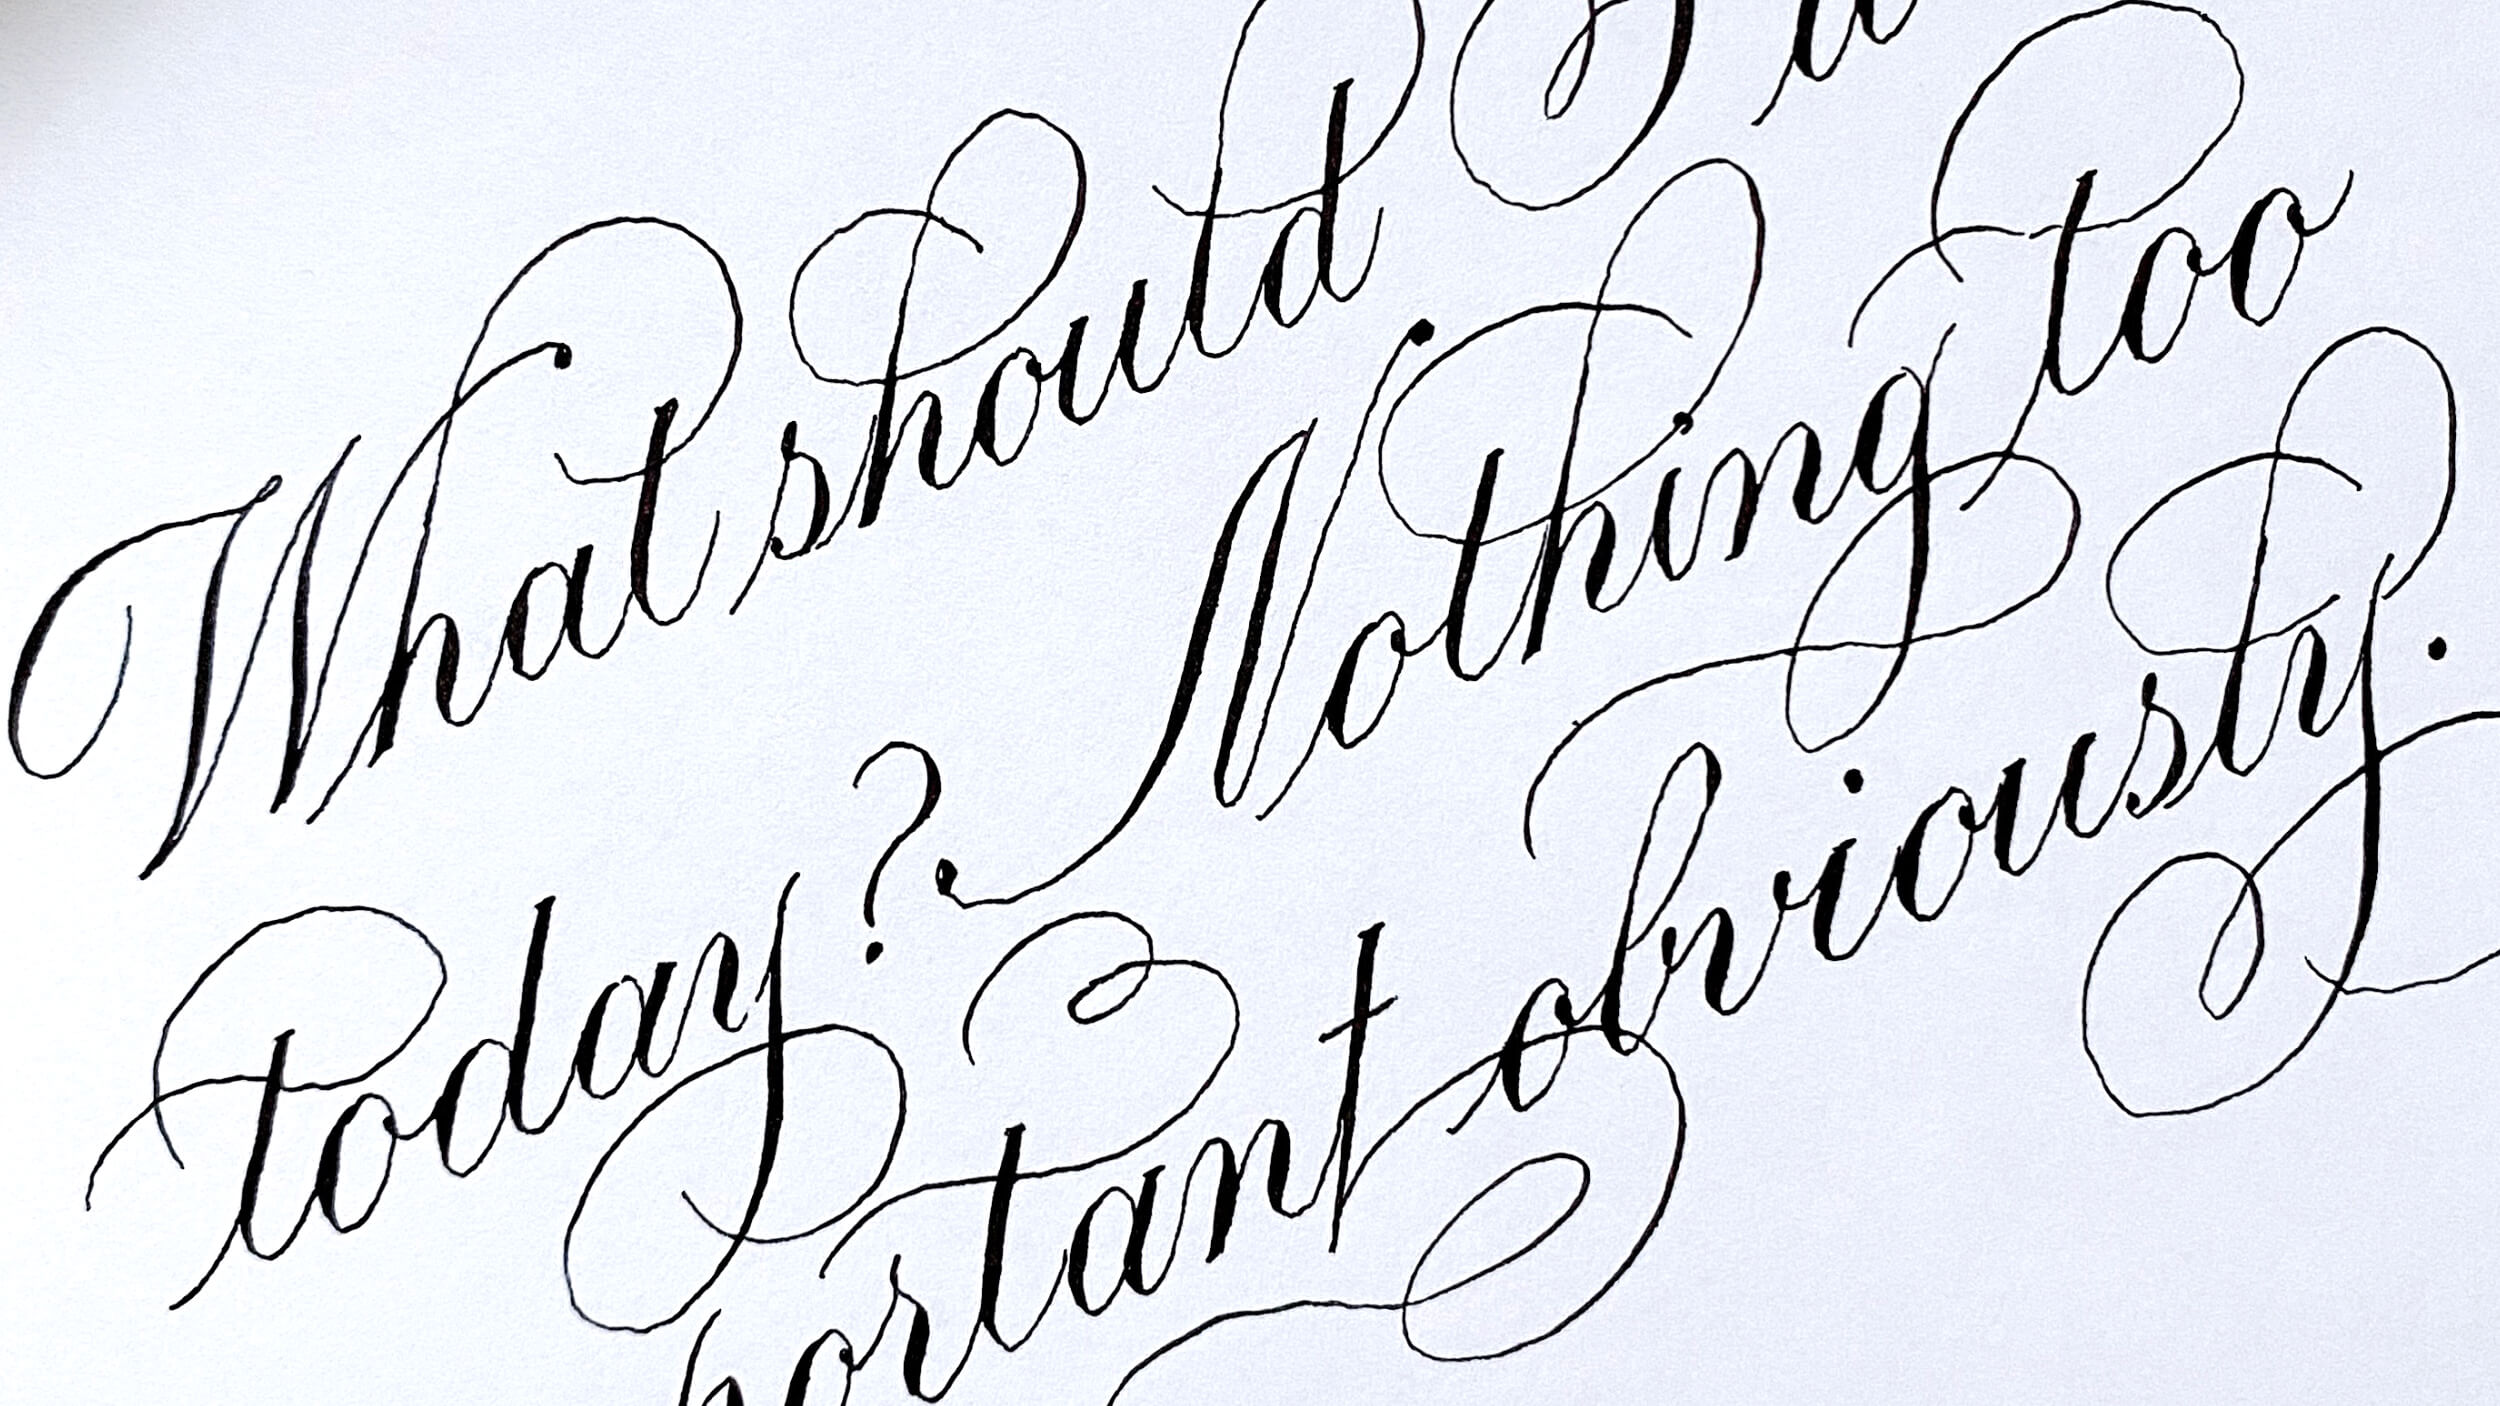
Calligraphy flourishing is half theory, half execution.
I can’t stress this enough — without theory, your flourishes become squiggles and random loops. So before anything else, learn the four basic principles of what makes good flourishes.
But even all the theoretical know-how, you can still struggle with getting smooth lines. In this blogpost, we’ll go through some important concepts and my personal tips for smoother flourishes.
How to fix shaky and unstable lines when flourishing?
Less hesitation, more confidence
Warm up your writing muscles
Move fingers, wrist and arm
Choose the right tools
Go faster (or slower)
Sit comfortably
Examine your emotions
Less hesitation, more confidence
Your hand can’t create what your mind can’t picture.
You should have a mental picture of the flourish you want to create. I don’t mean just drafting flourishes for a whole layout or quote beforehand, but the flourish for each letter as you write.
Before each flourish, take a quick moment to think through:
What does this flourish look like? Is this a pretzel flourish? An infinity loop flourish? Or just a simple oval?
How big is the flourish going to be? How big are the ovals within?
Where should each stroke reach or stop, and where should you turn? 2nd ascender line? 1st ascender line?
Having this mental picture means less hesitation and more confidence when you flourish. Because each hesitation and pause mid-stroke shows up as disjointed and shaky lines.
So visualise exactly what flourish you want to create before putting pen to paper.
Warm up and loosen your writing muscles
Take a look at this photo — it’s the epitome of unstable and shaky lines.
That’s because I deep cleaned my house the day before, so my arms were sore and aching.
When your arms / hands are aching, or you haven’t written in a long time, shaky lines are almost a given.
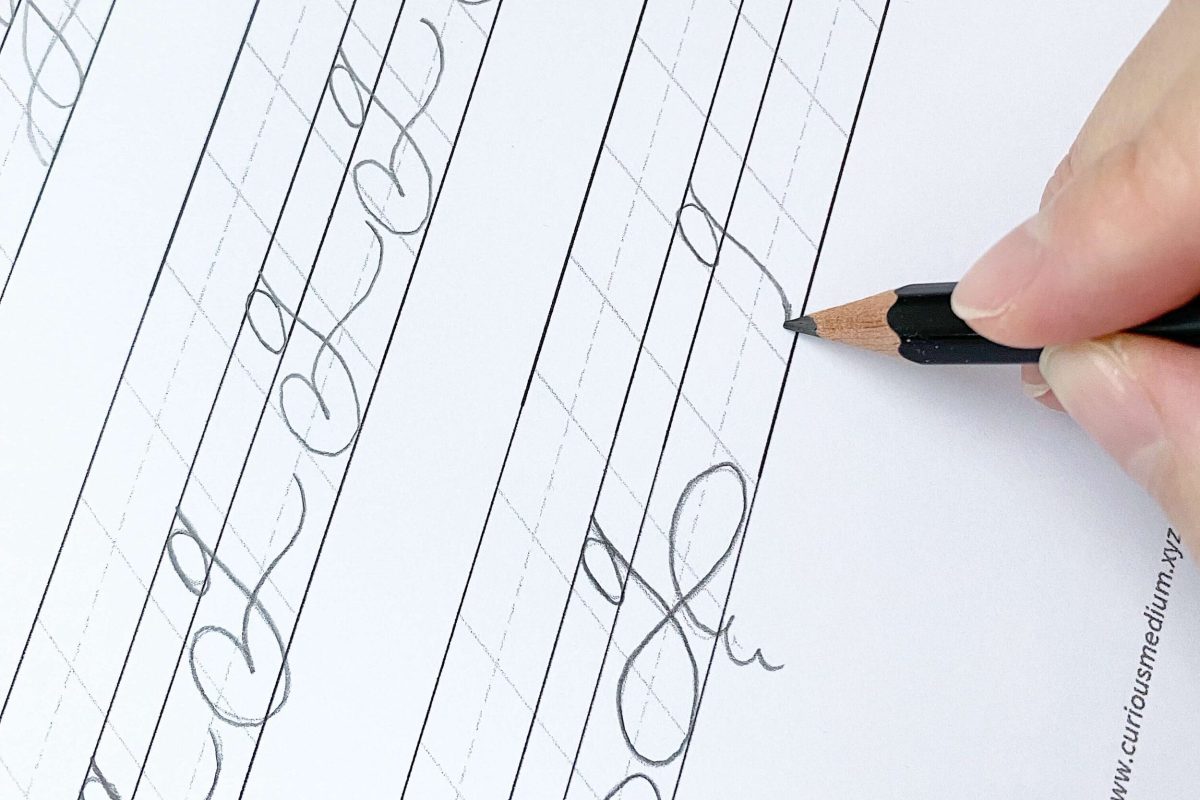
Loosen your writing muscles by warming up for 10 minutes or so, and you’ll find your movements being more fluid. Practise drawing continuous ovals in both clockwise and counter-clockwise direction, or draw large ovals and infinity loops as wide as an A4 paper. You can download my free drills worksheets to practise these.
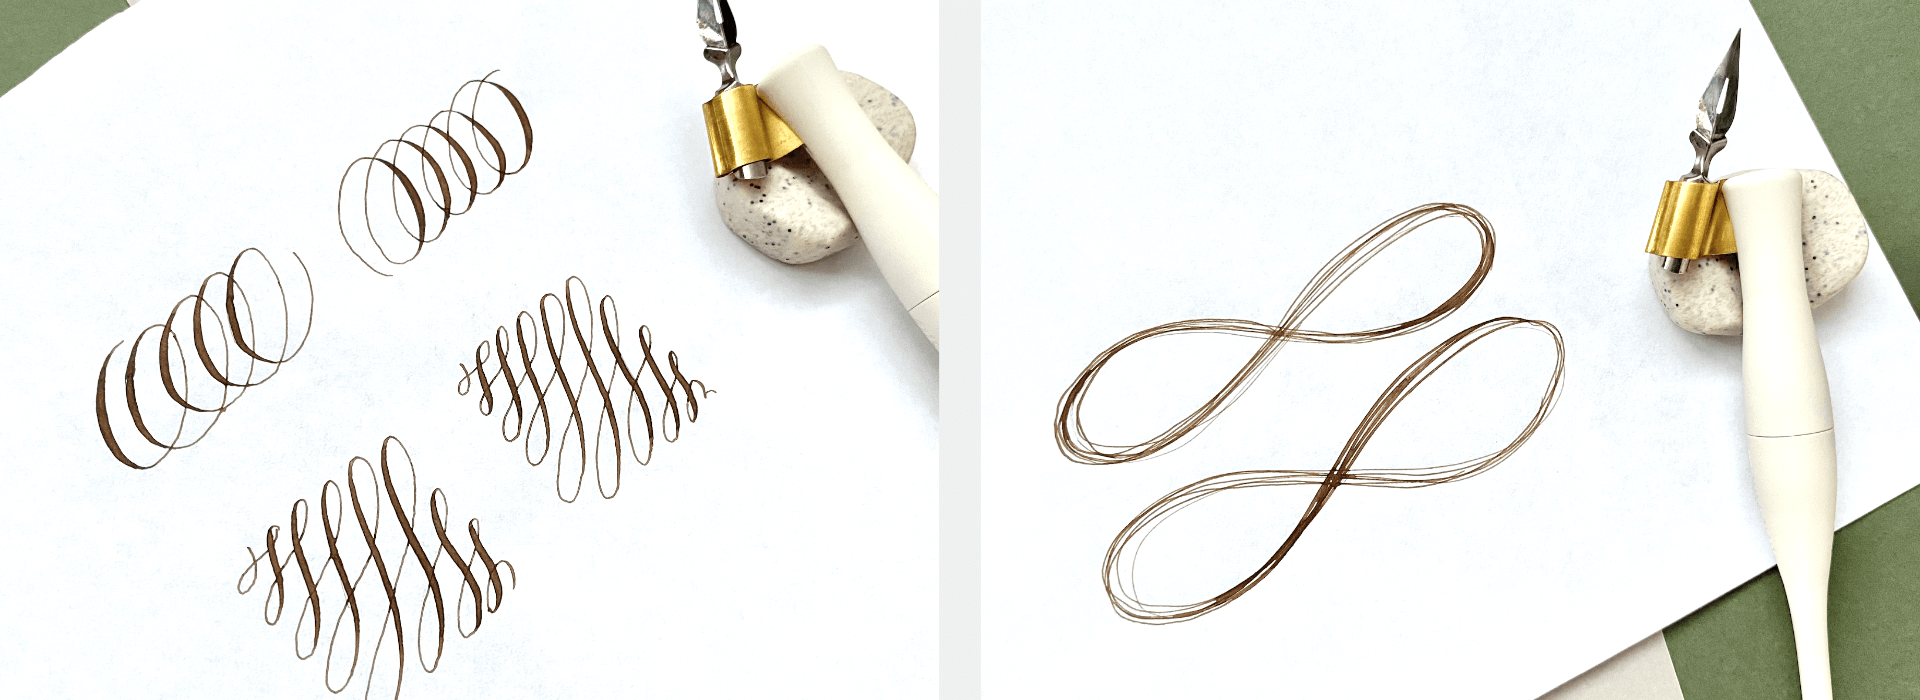
Examples of warm-up drills
(Confession — I rarely warm up with drills. I warm up with flourishes straightway; it’s easier for me to see the gap between how I’m writing and how I should be writing. But for beginners, please start with drills to get familiar with warm-ups!)
Use finger, wrist and arm movement
With a pen in hand, draw an oval by moving only your fingers. Pretty small oval, right?
Draw another oval, this time rotating your wrist too. Bigger oval, right?
This shows the difference in range of motion of finger and wrist movements.
And with arm movement? Well, you can probably draw an oval as large as your table.
Knowing how to use wrist and arm movement is crucial when flourishing.
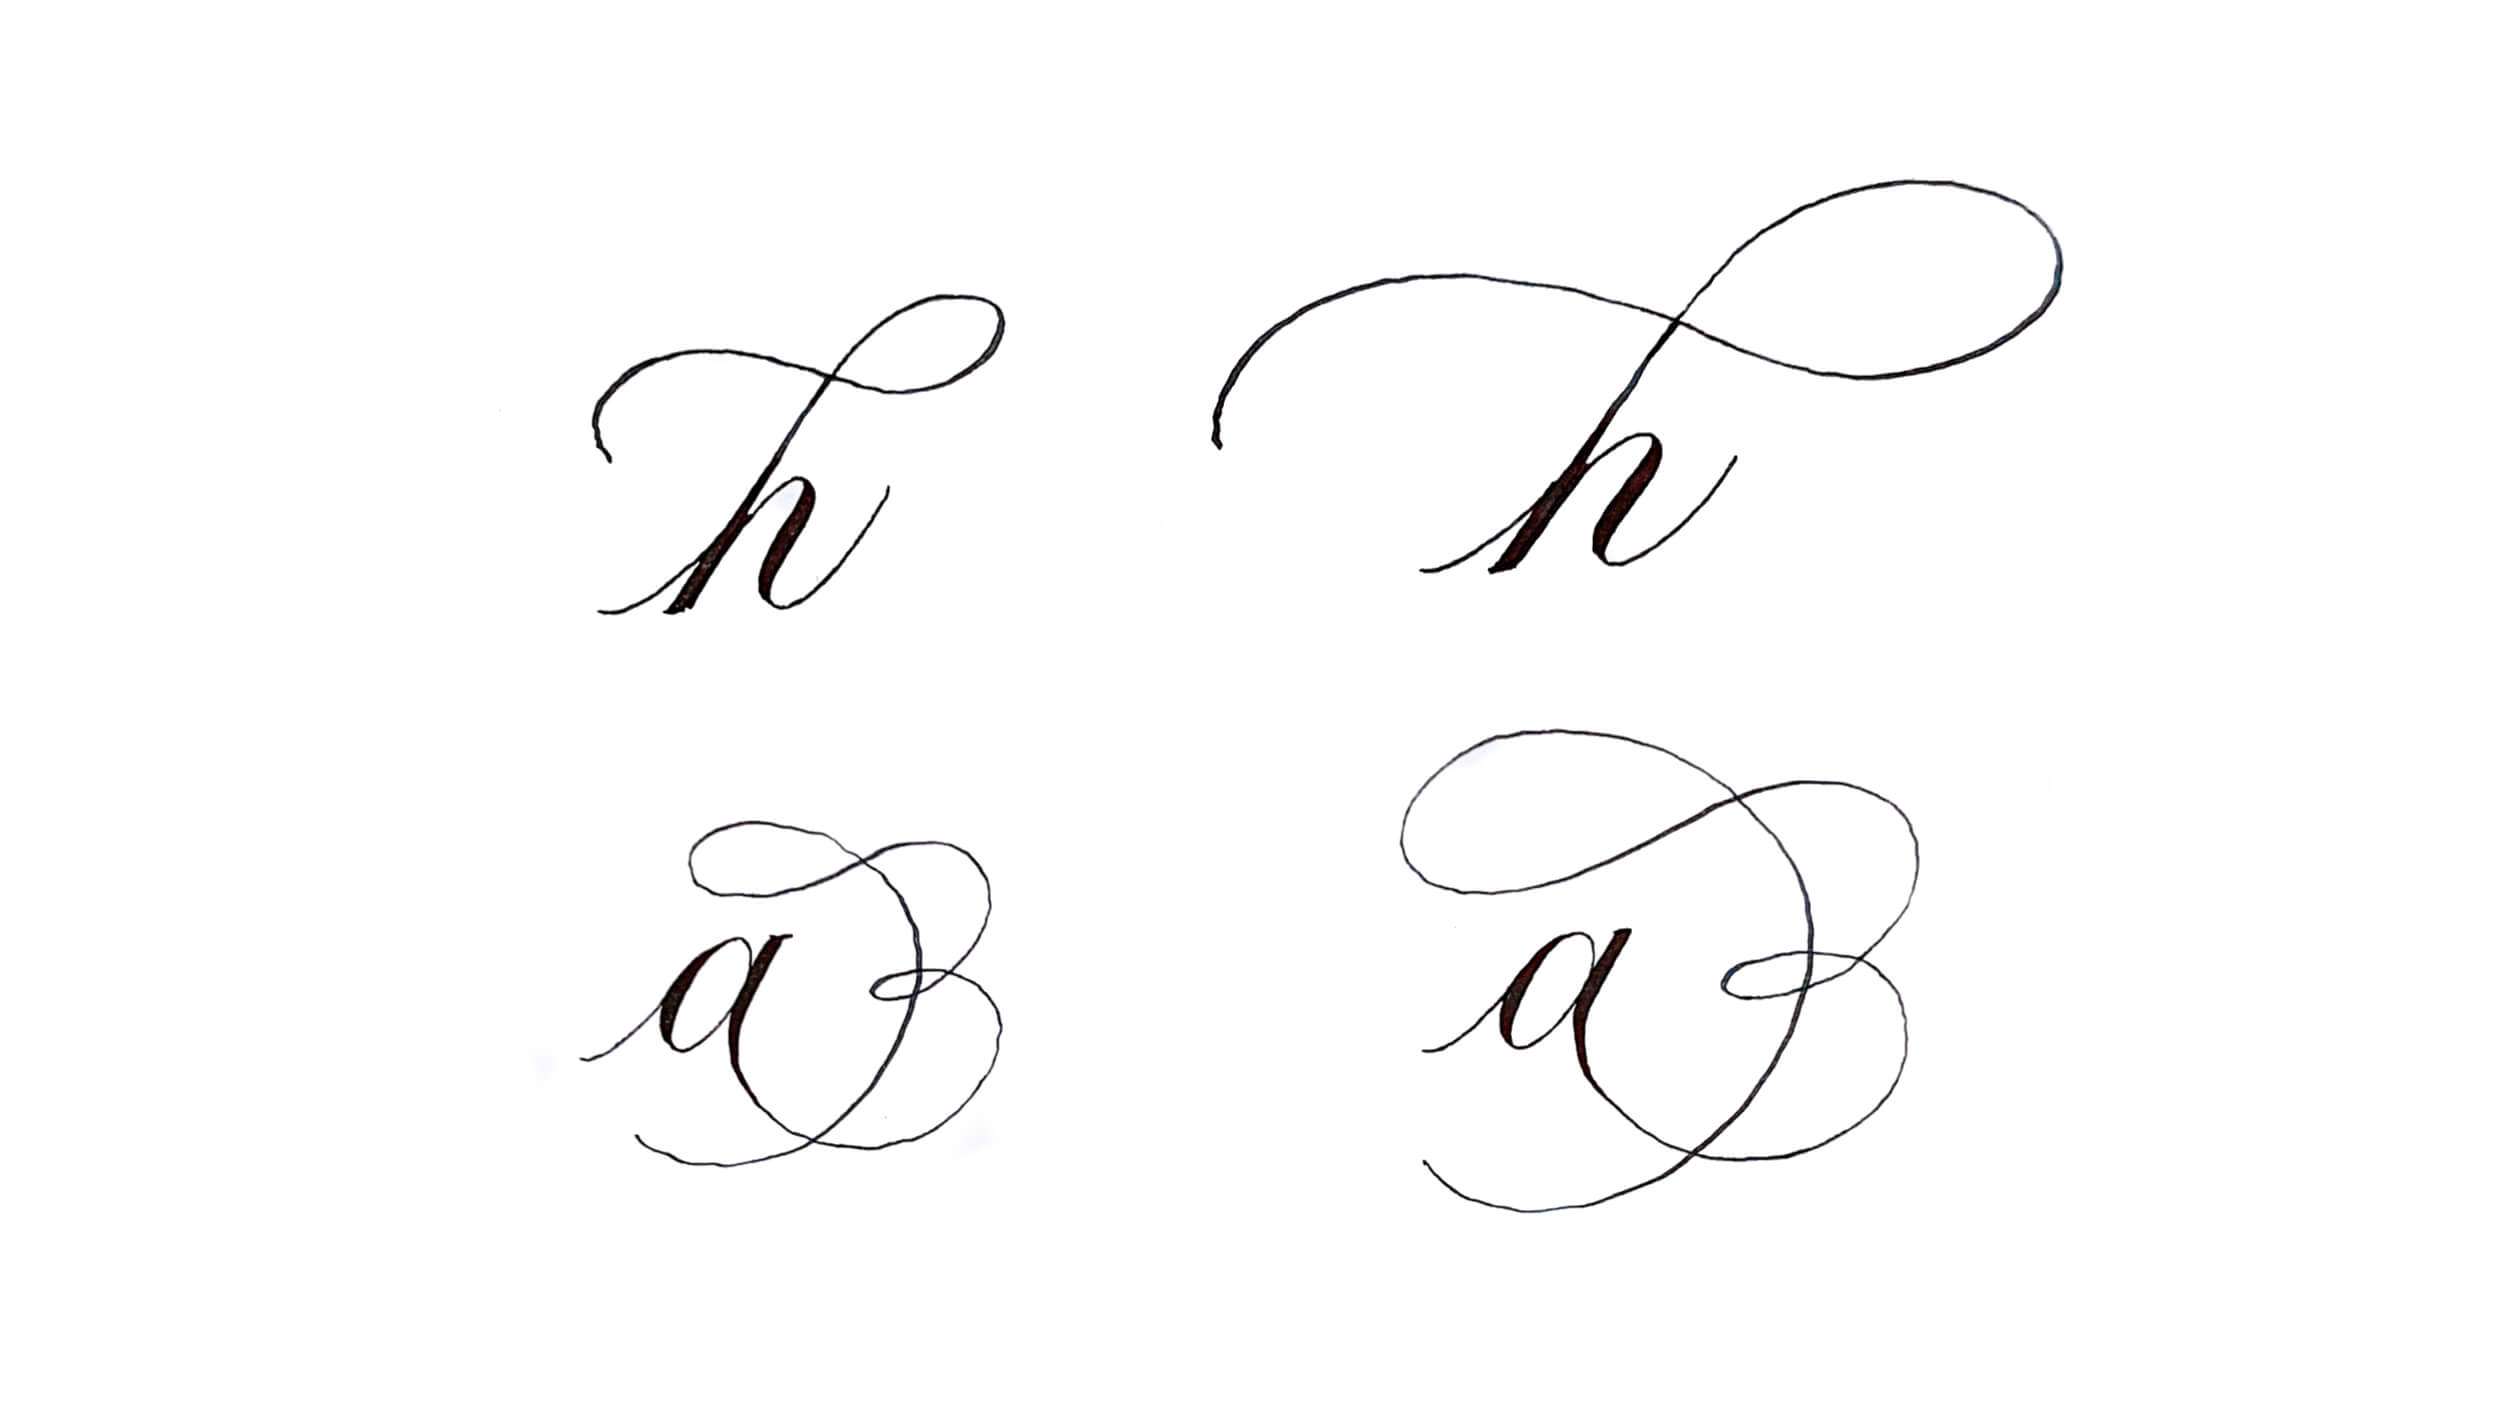
Using only finger movement (left) means shakier and smaller flourishes than using wrist movement (right)
Once you reach the limit of your fingers’ range of motion, the stroke will be shaky and unstable. That’s when you need to shift to wrist or arm movement without lifting the nib to continue the stroke smoothly. The larger the flourishes, the more you’ll need wrist or arm movement.

Difference in finger, wrist and arm movement
I go through finger, wrist and arm movements — including when to use them, and how to practise — in this blogpost.
Choose the right tools
Is there a specific tool to use for flourishing?
No, just use whatever is comfortable for you. Brush pen or pointed pen — with straight or oblique holders — work fine.
Straight holders are typically used for offhand flourishing techniques (commonly used to create birds or quills) with rapid arm movement. But that’s not necessary for calligraphy flourishing, where strokes of the letters are extended. I use an oblique holder for writing and flourishing.
Or start practising with a pencil or monoline pen. Get used to the motion of flourishing, and progress to pointed pen (or brush pen) when you feel ready.
Some tips to make flourishing with a pointed pen nib easier:
Nib: For beginners, start with nibs that are less sharp e.g. Nikko / Zebra / Tachikawa G nibs. Nibs that are very sharp and flexible — e.g. Leonardt Principal Extra Fine and Hunt 101 — snag on paper easily, making it harder to maintain smooth lines. Make sure you’re using a good nib too. Old or corroded nibs feel scratchy when writing, and can’t produce hairlines as fine as they used to. That makes smooth flourishing 10x more challenging.
Holding the pen: As with writing standard letters, hold the nib approximately 45° from the paper. Holding it too upright makes smooth strokes difficult, as the nib will keep catching on paper. Maintain a light grip — just enough for the nib to glide along the paper smoothly. A good rule of thumb? There shouldn’t be any physical indents or marks on the paper after writing.
Paper: The right paper comes down to personal preference. Some find it easier to flourish on extra smooth paper like Rhodia’s white blank pads. But I find it more challenging — it feels like skidding on ice and I can’t control my pen well. So I prefer paper with some grit. I recommend you experiment to see what works better for you.
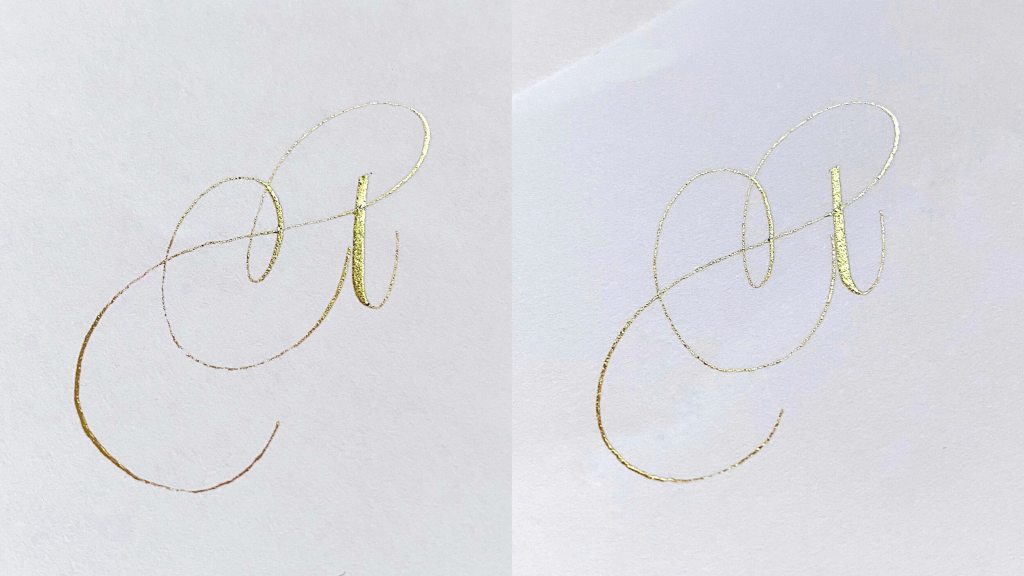
See the difference when I flourish on smooth paper (left) and paper with some grit (right)?
Go fast? Or go slow?
Just like how paper smoothness is a matter of personal preference, so is speed.
Like I mentioned earlier, offhand flourishing techniques use rapid arm movement to throw strokes on paper. But that’s not always necessary for calligraphy flourishing.
Rapid arm movement may work better for some. Deliberate and careful movements may work better for others.
Generally, bigger flourishes require faster movement, and rougher paper (like cold-pressed watercolour paper) requires slower movement.
How fast or slow you flourish produces different styles too. Rapid movements create looser and more fluid flourishes, while slower movements create neater and more structured flourishes.
Again, experiment to find what works better for you. Personally, my movement is slightly faster when flourishing than writing standard letters.
Look around you and sit comfortably
Literally — look around and observe how you’re writing.
What are you writing on? A thick pad of paper? Sometimes the height of the paper pad is enough to cause a skip in your stroke, when your hand moves from the paper pad to the table surface. Each time I write, I just clip 3-5 pieces of paper together.
Do you have sufficient space for your hands to glide smoothly? If no, make space. Even if it seems like you’re not going to hit anything on your table, just having something on the side can subconsciously constraint your movements.
Are you sitting up straight or hunched over? Are your shoulders tense? Open up your chest. Create space between your ears and shoulders. Sit comfortably and confidently. A simple change in posture can affect your mindset and how you approach flourishing — whether it’s stressful and challenging, or fluid and forgiving.
Don’t let emotions get in the way
Lastly, how are you feeling?
Emotions are sometimes overlooked when discussing and critiquing calligraphy practice.
But I’ve heard a calligraphy instructor say the pen is a seismograph for your emotions.
And it’s absolutely true for me. When I’m stressed, upset or frustrated, my calligraphy suffers. Even my standard letters are shakier than usual, let alone flourishes.
If my flourishes are shaky, and it’s not because of the issues mentioned above — stiff muscles, wrong tools, sitting uncomfortably — then I just give up. I accept that today’s not a good day, and return the next day. That works 9 out of 10 times.
So we’ve gone through some concepts and tips on how to overcome shaky lines when flourishing — a combination of movements, tools and mindset changes. If you’ve enjoyed this blogpost or learnt something new, let me know in the comments below.
Most importantly, don’t be too harsh on yourself! Every calligrapher struggles with smooth lines at first, and even the most seasoned calligraphers have shaky flourishes on bad days.
Frequently Asked Questions
My hands are warmed up properly and I’m still having problems with smooth flourishes.
First, check if your nib is old or corroded. Switch to a fresh nib to see if that solves the problem.
Then check your other tools. Are you writing on paper that is too smooth (or too rough)? Is your ink too viscous? All these can play a part.
Do I need a straight holder for flourishing?
Not necessarily. Straight holders are recommended for offhand flourishing techniques — commonly used to create birds or quills — that use rapid arm movement.
But in calligraphy flourishing — extending strokes of the letters — any holder that you’re comfortable with is fine. I use an oblique holder.
How fast or slow should I be when flourishing?
There is no clear answer as it depends on personal preference. Experiment and find what works better for you.
Generally, bigger flourishes require faster movement, and rougher paper (like cold-pressed watercolour paper) requires slower movement.
→ hey there
I’m Dawn from Singapore.
After leaving a corporate job in the throes of the pandemic, calligraphy has given me more than a hobby and a creative outlet.
Calligraphy challenges me to keep learning, helps me to calm down and focus, and has connected me to so many calligrafriends around the world.
Drop me an email at any time if you have questions / problems while learning calligraphy, or just want to chat about calligraphy! ♥️